💡 DIY Computer Fixes?
Grab my easy step-by-step guide and keep your computer running like new.
How to take a screenshot windows 10 in 2025
Both Windows 10 and Windows 11 provide a variety of options for taking screenshots of anything on your computer.
I’ve compiled all the top methods for taking a screenshot in Windows, whether you want to capture the entire screen or just a portion of it.
The Print Screen (PrtScn) key in Windows 10 or Windows 11 is the simplest way to take a snapshot. Simply hit PrtScn in the upper-right corner of your keyboard to capture the full screen.
The screenshot will be copied to your clipboard on Windows 10. Paste the screenshot into any tool that lets you input images, such as Microsoft Word or Paint, to save the file.

In Windows 11, clicking the PrtScn button saves the screenshot to the Screenshots folder on your computer, which can be accessed by opening the File Explorer and selecting Pictures on the left. Additionally, if you have OneDrive enabled, the screenshot will be saved there as well.
The Windows key + Print Screen
Press the Windows key + PrtScn on Windows 10 to take a screenshot that will be saved automatically. Your full screen will be captured and saved to the Screenshots folder as your screen dims.
In Windows 11, hitting the Windows key and PrtScn will take a screenshot of your full screen, copy it to your clipboard, and save it to the Screenshots folder. By doing this, you’ll be able to paste the photo right away into a social network post, an art app, and more.

Alt + Print Screen
Press Alt + PrtScn to only record the window you are now working in. In Windows 10, you must paste it into another program to save it; in Windows 11, it is immediately copied to the Clipboard and saved to the Screenshots folder.
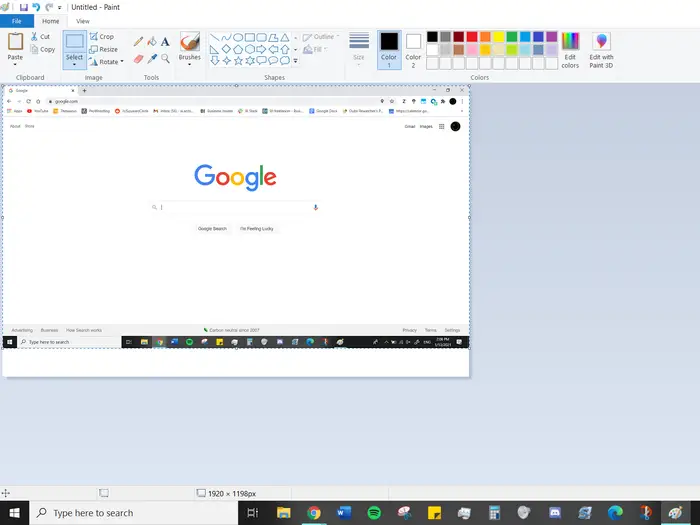
The Snip & Sketch tool in Windows 10
If you want to personalize, edit, or share your screenshots, Windows 10’s Snip & Sketch is the best screenshotting tool on Windows.
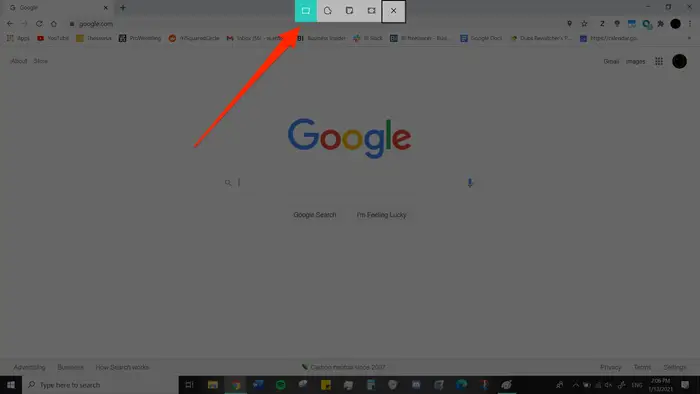
Use the keyboard shortcut Windows Key + Shift + S to launch Snip & Sketch. Your screen will dim, and a tiny menu with the choices to take a rectangular, free-form, window, or full-screen capture will show up at the top
You can pick the method you want to use to snap a screenshot with these Snip & Skitch options:
Mode Function
Rectangular
Size a rectangle for your screenshot.
Free-form
Draw with your cursor in freehand.
Window
Select a certain window to capture.
Full-screen
Take a screenshot of the whole screen.
A preview notification will show up in the lower-right corner of your screen when you take the screenshot, which will then be saved to your clipboard.
The Snip & Sketch app will open when you click on the preview notice, allowing you to save, share, or alter the snapshot using the included drawing tools.

The Snipping Tool in Windows 11
Windows 10 has a snipping tool, but you won’t typically want to use it to take screenshots. The Snipping Tool, however, received a significant update in Windows 11, and is currently the finest method for taking personalized screenshots.
In Windows 11, you may either search for the Snipping Tool or launch it by pressing Windows Key + Shift + S. Your screen will dim, much like with Snip & Sketch, and a toolbar with screenshot options will show up at the top. You can take a rectangle, freeform, full-window, or full-screen screenshot using this toolbar.

Once you’ve taken your screenshot, it’ll be copied to your clipboard so you can share it right away. And if you click the preview that pops up in the bottom-right corner of your screen, you’ll be able to save and edit it.

The Game Bar
Most Windows apps and games have an overlay you can use to take screenshots and record video. Press Windows Key + G to display the Game Bar.
Quick tip: Check to see if the Game Bar is enabled if it doesn’t appear. Search for “Game bar settings” and select “Record game clips, screenshots, and broadcast using Game Bar” from the menu to enable the Game Bar.

To take a screenshot of the entire screen, click the camera symbol in the overlay menu. By choosing the record button, you can also record a video with the option to include audio by selecting the microphone symbol.
The Videos > Captures folder is where the Game Bar saves screenshots and video clips that are captured in PNG format. In the Game Bar, you may access it by selecting “Show all captures” next to the screenshot and recording buttons.
Power + Volume Up
Press the Power Button + Volume Up Button on a Microsoft Surface device to take a screenshot of Windows 10 operating system. Your screenshot will be saved to the Pictures > Screenshots folder as the screen dims.
On a Surface 3 or before, you must click the Windows Logo + Volume Down Button in order to snap a screenshot.
Third-party screenshot apps for Windows
Third-party screenshot programs, each with their own additional features, are worth taking into consideration if you’re not happy with any of the built-in Windows techniques.
Free screenshot tool Lightshot is made for easy social sharing. When Lightshot is downloaded and installed on Windows 10, the Print Screen feature is replaced and more editing options are provided.
Another free program, Greenshot, has the ability to capture a whole scrolling web page in addition to editing and customizing screenshots.
With the snapshot application Snagit, you can capture entire pages, make animated GIFs, and more. The negative? The $50 premium edition is available. A 30-day free trial is also available, however any images you take during this time will be watermarked.